
Epoxy Floor Preparation: What Southwest Florida Homeowners Should Expect
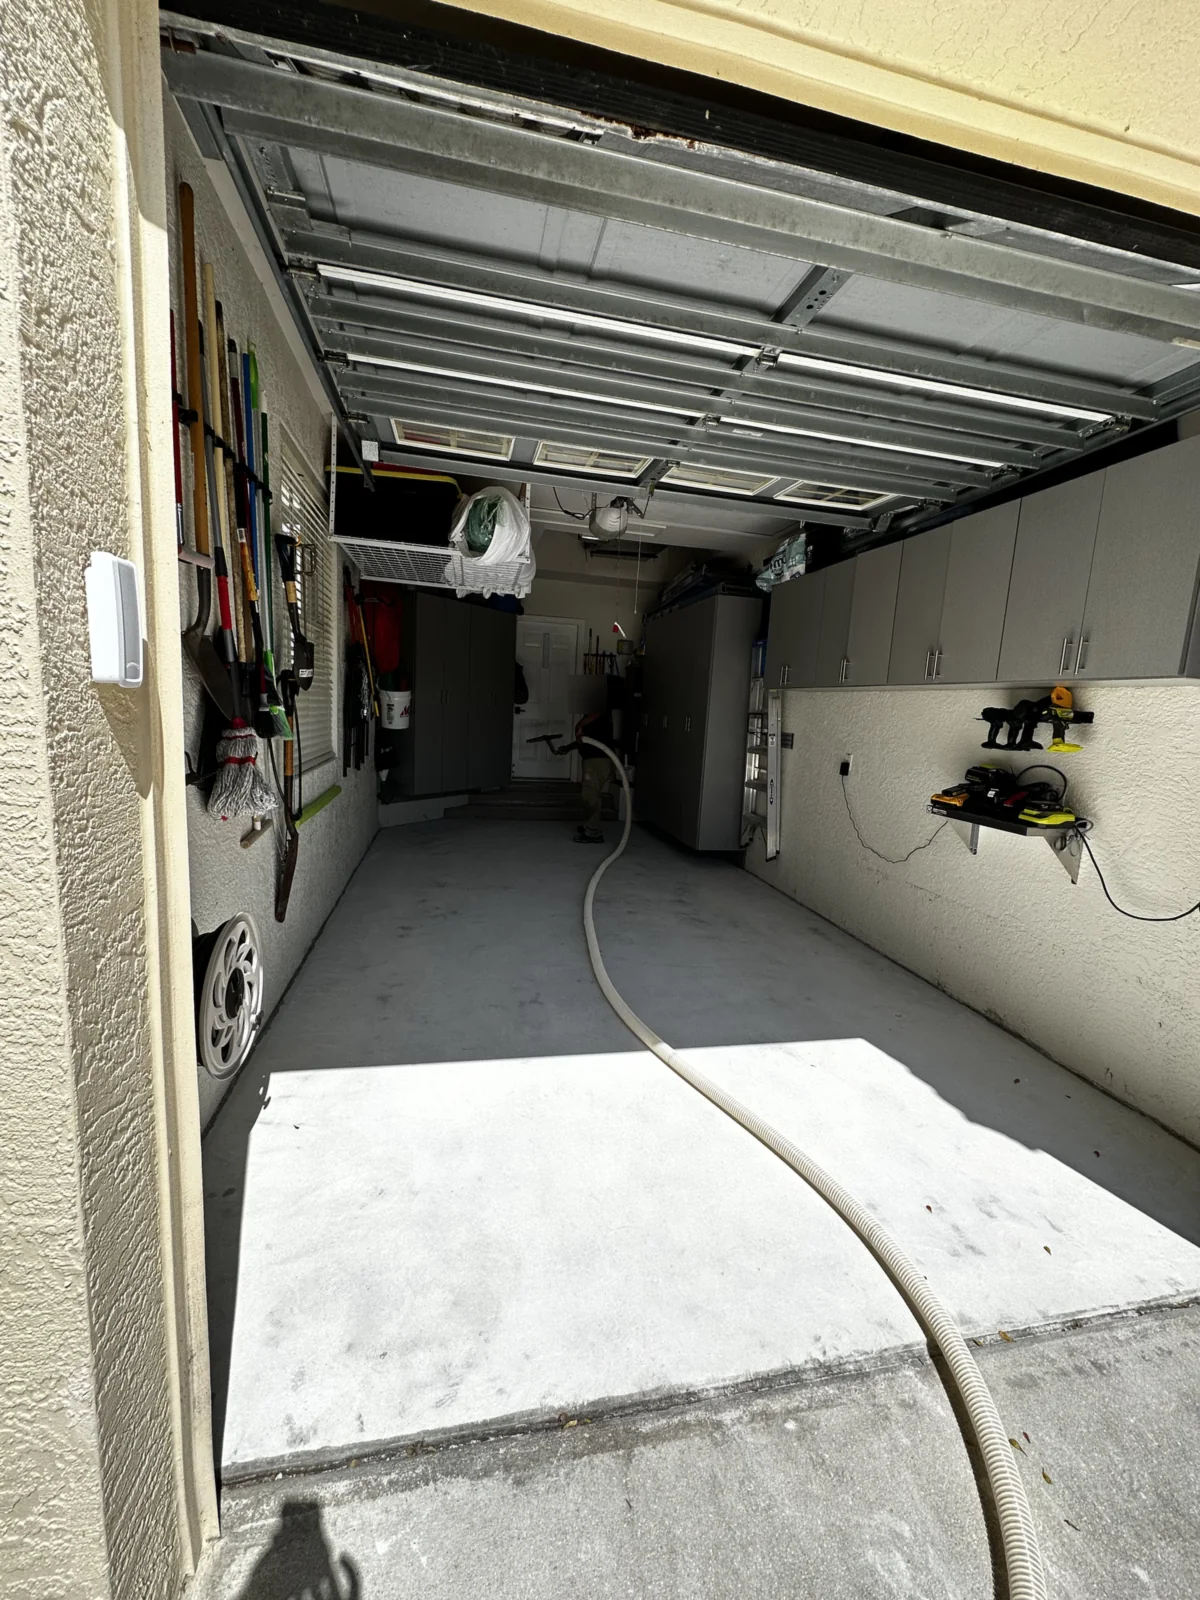
When people picture a new epoxy garage floor, they picture the finished result: the flake, the gloss, the clean look. But the part that decides how well that floor holds up happens before any color goes down. It’s the prep.
A coating is only as good as the concrete under it. If the slab isn’t cleaned, opened up and repaired, even a good coating can peel, bubble or lift where your tires sit. This guide walks through what epoxy floor preparation involves, why it matters so much in Southwest Florida, and what you can do to get your garage ready for install day.
Why Prep Matters More Than the Product
Brand and thickness matter, but most coating failures trace back to the surface underneath. Epoxy needs a clean, sound, slightly rough surface to grab onto. Bare concrete that looks fine can still have problems you can’t see from a standing height:
- A thin, weak top layer of cement paste left over from when the slab was poured
- Oil, grease or tire residue soaked into the pores
- An old sealer, paint or DIY kit that the new coating would sit on instead of the concrete
- Cracks, chips and pitting
- Moisture moving up through the slab
Good prep deals with each of these before the base coat goes on.
What Happens During Concrete Prep
Every slab is a little different, but here’s the general order of work on the residential floors we install at Seaside Coatings.
1. Inspecting the slab
We start by looking closely at the concrete for cracks, damaged spots, stains and any existing coating. This is also when we talk with you about the floor’s history, like a past DIY kit or a spot where water comes in under the door.
2. Repairing cracks and damaged areas
Cracks and damaged spots are repaired so the new floor goes down over a sound surface. Small hairline cracks are common in Florida garages. Wider cracks, chips and pitted areas need to be filled and leveled first, or they’ll show through the finished floor.
One thing worth knowing: a coating can cover and seal a crack, but it can’t stop concrete from moving. If a crack is still active, or the slab has settled, it may show again over time. Control joints, the straight cut lines in many garage slabs, are there to let concrete move. Ask your installer how they plan to handle the joints and cracks in your floor so you know what to expect.
3. Grinding the concrete
Grinding is the heart of the prep. A floor grinder removes the weak surface layer and leaves the concrete with a slightly rough texture, a bit like fine sandpaper. That texture is what lets the base coat soak in and bond.
This is the biggest difference between a professional install and most store-bought kits. Kits often rely on an acid etch or a cleaner. Grinding takes specialized equipment and dust control, and it gives the coating a much better surface to hold onto. Coating manufacturers commonly call for mechanical surface prep, such as grinding, before their floor systems go down.
4. Removing failing coatings
If there’s peeling paint, an old epoxy kit or a worn-out sealer on the floor, it comes off first. A new coating can only hold as well as the layer under it.
5. Cleaning up
After grinding and repairs, the floor is vacuumed and cleaned so there’s no dust left to get trapped under the coating. Then the base coat goes down, followed by flake if you chose it, and a clear topcoat. On our residential garage floors, that topcoat is typically polyaspartic.
Moisture: The Florida Factor
Moisture is one of the most common reasons floor coatings fail, and it’s a bigger topic here than in drier parts of the country. Southwest Florida has a high water table, heavy summer rain and humid air most of the year. Water vapor can move up through a concrete slab, and if it builds up under a coating, it can cause bubbles, blisters or peeling.
Most homes have a vapor barrier under the slab, but older slabs, damaged barriers, low spots and areas where water runs in during storms can still have moisture issues. We test the slab for moisture, and when needed we use a moisture-tolerant primer. Coating manufacturers also publish moisture limits for their products.
Humidity in the air matters on install day too. Manufacturers set application limits, such as how warm the floor needs to be relative to the dew point, and on a muggy day an experienced crew adjusts timing and technique.
What this means for you: if you know about any moisture history in your garage, like water under the door after storms, damp spots that never seem to dry or white powdery residue on the concrete, mention it at your estimate.
How to Get Your Garage Ready for Install Day
Here’s what helps on your end.
A week or two before:
- Plan to empty the floor. The coating goes on the whole slab, so cars, bikes, tool chests, storage bins, freezers and anything else sitting on the concrete need to come out.
- Decide where things will go. A spare room, a driveway corner under a tarp or a borrowed trailer all work. If you live in an HOA community, check any rules about items or a storage unit in the driveway.
- Tell us about the slab’s history: old paint or sealer, patched spots, oil stains, and where water comes in.
The day before:
- Move vehicles out and plan where you’ll park. Drive-on time is typically about 24 hours, weather permitting, so plan on at least one night with the car outside.
- Clear the floor completely, including mats, rugs and anything stored along the walls.
- Make sure the crew can get in: a working garage door opener, any gate code, and access to power for equipment.
On install day:
- Most residential installs take about one day. Weather can change timing, and a second day is sometimes needed if prep turns up extra repairs.
- Keep kids and pets away from the garage, and keep the door from the house to the garage closed unless the crew asks otherwise.
- Don’t walk on the fresh coating until the crew says it’s okay.
After the crew leaves:
- Follow the care instructions we leave for your system.
- Lift heavy items back in instead of dragging them, and put felt or rubber pads under shelving feet.
Questions to Ask Any Installer About Prep
Whoever you hire, these questions tell you a lot:
- Will you grind the floor, or only clean or etch it?
- How will you handle the cracks and control joints in my slab?
- Will you remove the old coating, or go over it?
- How do you deal with moisture in the concrete?
A good installer will answer these in plain language.
Serving Homeowners Across Southwest Florida
Seaside Coatings is based at 5760 Youngquist Rd in Fort Myers, and we coat garages, lanais and other residential concrete across the region. See our pages for Fort Myers, Cape Coral, Naples, Bonita Springs and Estero, or browse finished floors in our project gallery. To compare finishes and systems, visit our residential epoxy floor coatings page or read epoxy vs. polyaspartic floor coatings.
Epoxy Floor Preparation FAQ
Do I need to do anything to the concrete myself before the crew arrives?
No. Just clear the floor. The crew handles the cleaning, crack repair and grinding. Sweeping up loose debris is fine but not required.
Why do you grind the concrete instead of acid etching it?
Grinding removes the weak top layer of the slab and leaves a slightly rough surface the coating can bond to. Coating manufacturers commonly call for mechanical prep like grinding before their floor systems go down.
Can you coat over my old garage floor paint or epoxy kit?
It depends on its condition. Peeling or failing coatings come off before a new system goes down, because a new coating can only hold as well as the layer under it.
Will the cracks in my garage floor show after it’s coated?
Cracks are repaired and filled before coating. How much they show afterward depends on the crack and the finish, and full-coverage flake hides small imperfections well. A coating can’t stop concrete from moving, though, so an active crack may show again over time. We’ll talk through your floor’s cracks and joints at the estimate.
Does Florida humidity affect epoxy floors?
Yes. Humidity affects how coatings cure, and moisture coming up through a slab can affect bonding. That’s why we test the slab for moisture and check the day’s conditions before coating.
How long does installation take, and when can I park?
Most residential installs take about one day. A second day is sometimes needed if prep turns up extra repairs. Drive-on time is typically about 24 hours, weather permitting.
Ready to Talk About Your Floor?
The best way to know what your slab needs is to have someone look at it. Seaside Coatings offers free estimates, in person or virtual, and financing is available through Acorn Finance. Our customers have given us 120+ five-star Google reviews. Call (239) 476-0219, Monday through Saturday, 8 a.m. to 6 p.m., or request your free estimate.