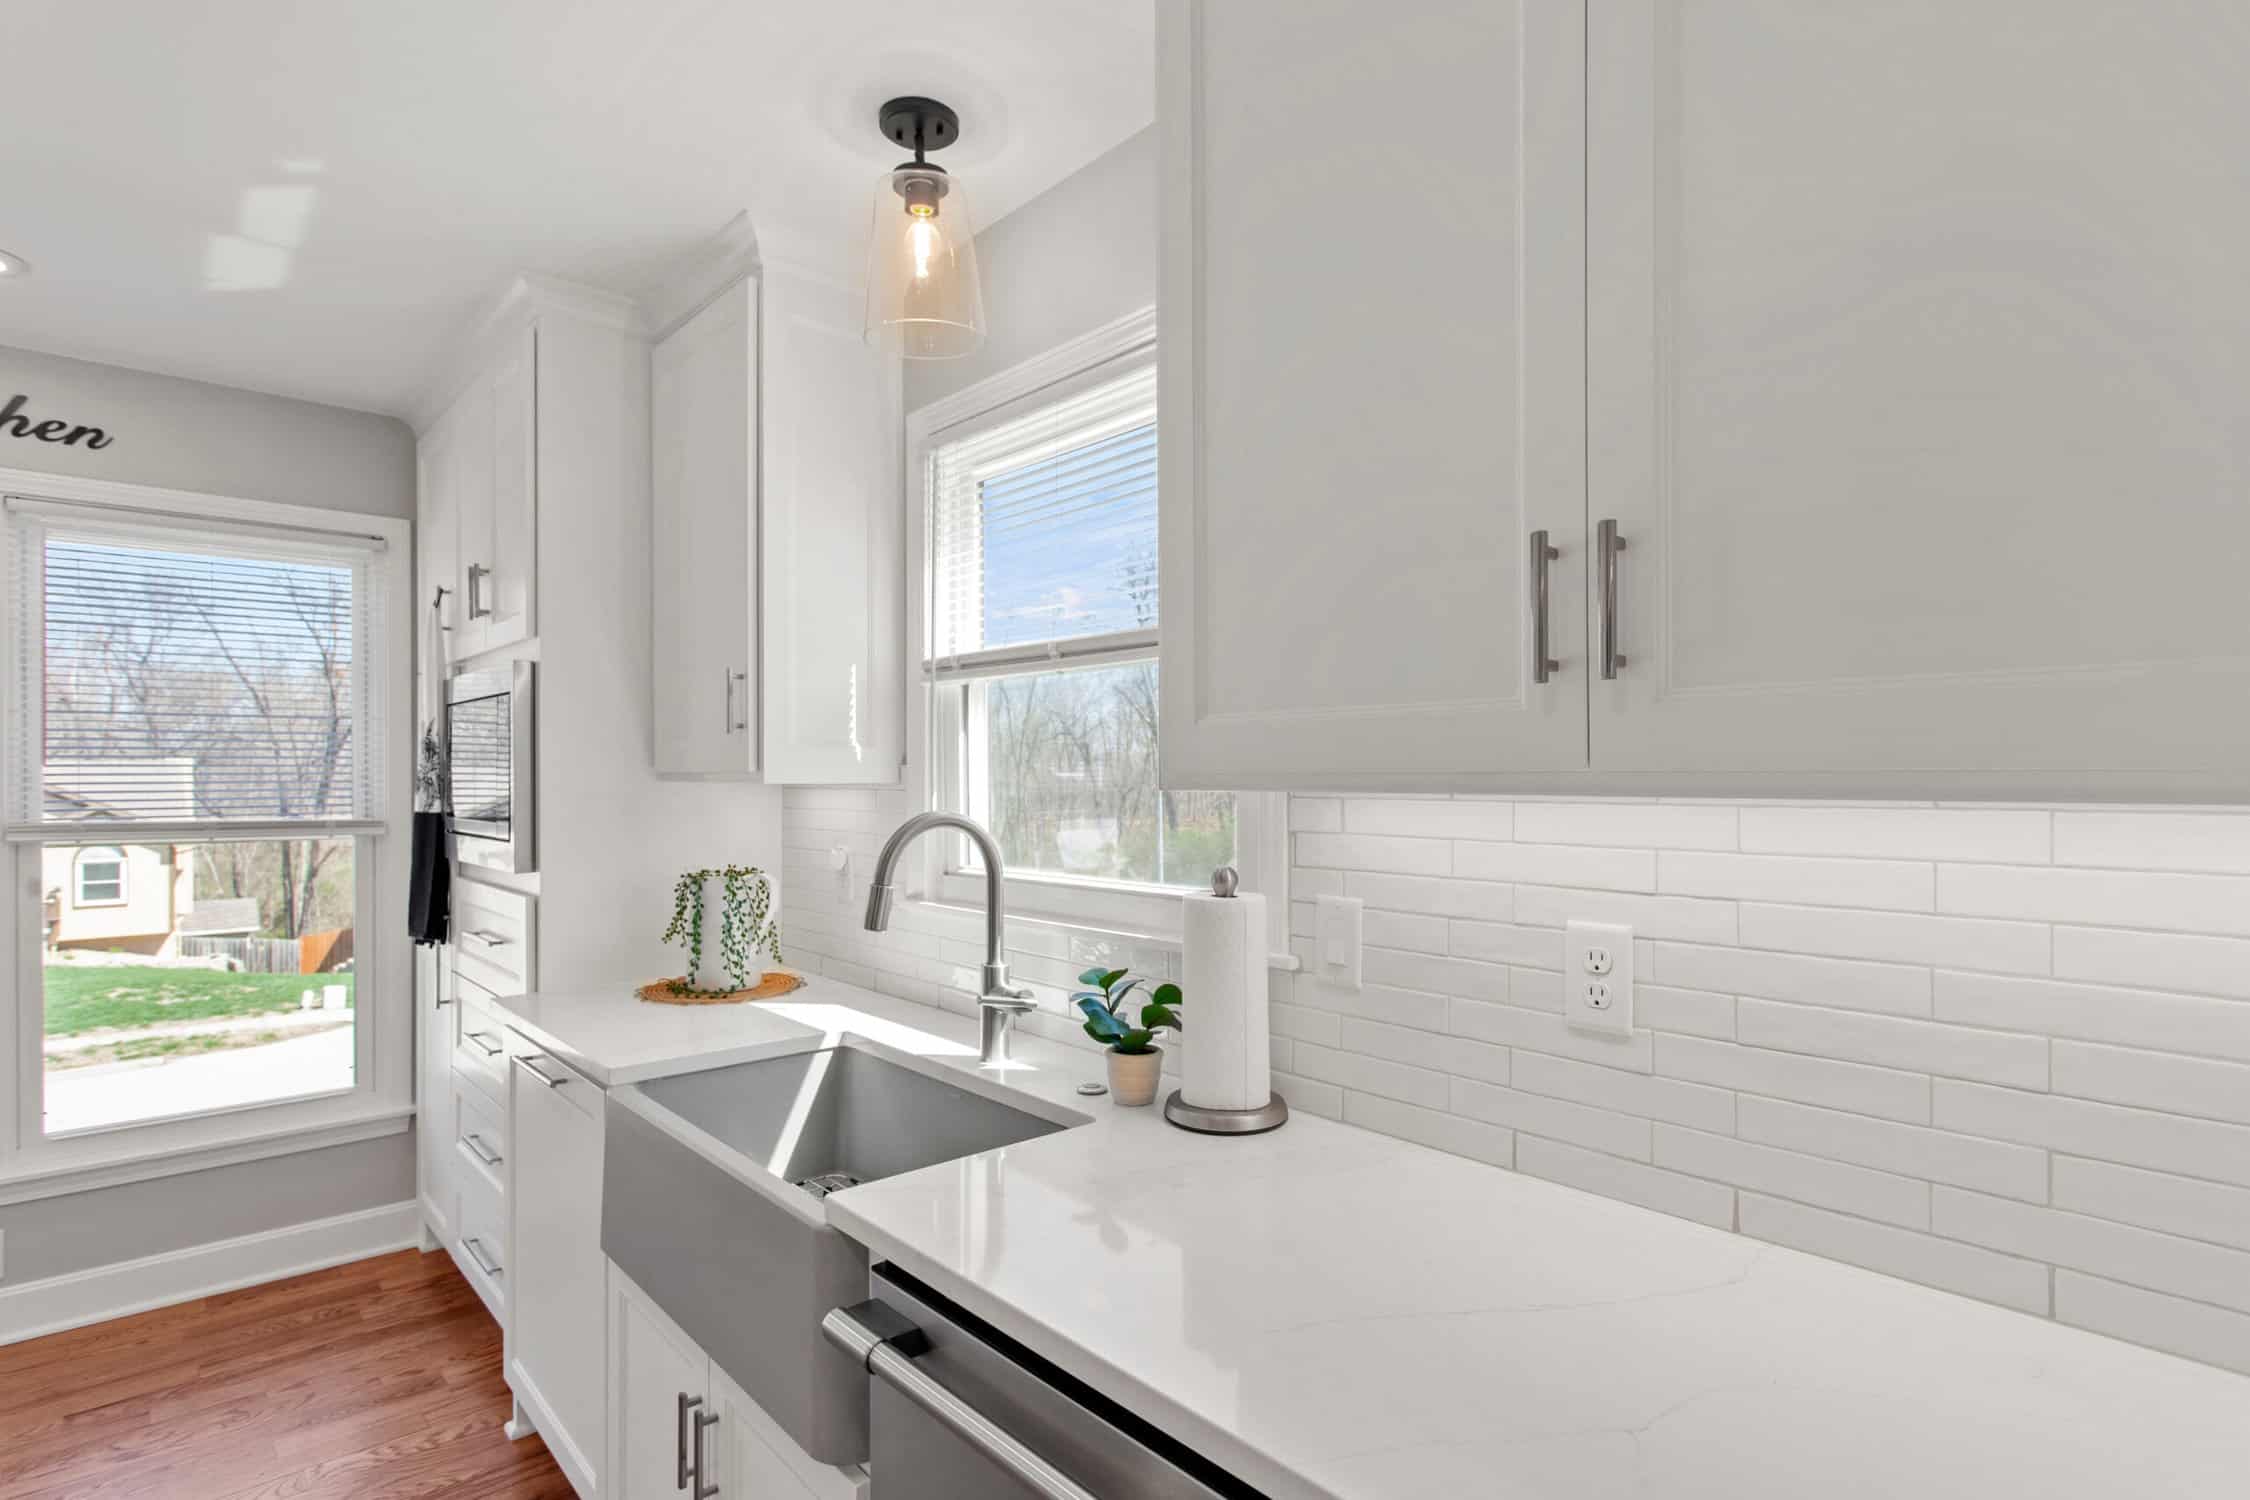
Cabinet painting can transform your kitchen or bathroom, giving it a fresh, new look without the expense of a full remodel. However, this DIY project is often fraught with challenges. Here are the top 10 common cabinet painting mistakes you should avoid to achieve a professional finish.
1. Skipping the Prep Work
One of the biggest cabinet painting mistakes homeowners make is jumping straight to painting without properly preparing the cabinets. Preparation is key to a smooth, lasting finish.
Solution
Remove all cabinet doors, drawers, and hardware. Clean surfaces thoroughly to remove grease and grime. Sand all surfaces to create a texture that paint can adhere to, and use a quality primer
2. Using the Wrong Paint
Not all paints are suitable for cabinets. Using the wrong type can lead to peeling, chipping, and a less durable finish.
Solution
Choose a high-quality, durable paint designed for cabinetry, such as acrylic latex or alkyd-based paints. These paints provide a smooth finish and withstand the wear and tear of daily use.
3. Ignoring Primer
Skipping the primer can lead to uneven paint coverage and poor adhesion, causing the paint to peel off easily.
Solution
Always use a primer, especially on wood surfaces. Primers help the paint adhere better and provide a uniform base for the topcoat.
4. Not Sanding Properly
Improper sanding can result in a rough, uneven surface that the paint won’t stick to well.
Solution
Sand the cabinets thoroughly before priming and between each coat of paint. Use fine-grit sandpaper (220-grit) for a smooth finish. Wipe away dust with a tack cloth.
5. Painting Over Dirty Cabinets
Painting over dirty or greasy cabinets can cause the paint to adhere poorly, resulting in a streaky, uneven finish.
Solution
Clean the cabinets thoroughly with a degreaser or a solution of water and mild detergent. Rinse well and let dry completely before starting any sanding or painting.
6. Using a Single Coat of Paint
Applying just one coat of paint often leaves the cabinets looking patchy and uneven.
Solution
Plan to apply at least two coats of paint, allowing adequate drying time between each coat. This will ensure even coverage and a more durable finish.
7. Rushing the Process
Rushing through the painting process can lead to sloppy work and a subpar finish.
Solution
Take your time. Allow each coat of primer and paint to dry fully before applying the next. Follow the manufacturer’s recommended drying times to achieve the best results.
8. Neglecting to Label Doors and Hardware
When removing doors and hardware, failing to label them can make reassembly a nightmare, leading to mismatched doors and missing hardware.
Solution
Label each door and its corresponding hardware as you remove them. Use masking tape and a marker to note the location of each piece, making reassembly much easier.
9. Using Inadequate Tools
Using poor-quality brushes and rollers can result in brush marks, uneven coverage, and a generally unprofessional look.
Solution
Invest in high-quality brushes and rollers designed for smooth finishes. Foam rollers and angled brushes work well for cabinetry, providing a smooth, even coat of paint.
10. Overlooking Ventilation
Painting in a poorly ventilated area can be hazardous to your health and affect the paint’s drying process.
Solution
Ensure good ventilation by opening windows and using fans to circulate air. Consider wearing a mask to protect yourself from fumes, especially if you’re using oil-based paints.
Conclusion
Painting your cabinets can be a rewarding DIY project, but avoiding these common cabinet painting mistakes is crucial for achieving a professional-looking finish. By following these tips, you can ensure your cabinets look stunning and stand the test of time. Remember, preparation and patience are key to a successful cabinet painting project.
Start Your Home Improvement Projects with Seaside Coatings
Ready to transform your kitchen or bathroom cabinets with a flawless finish? Avoid common pitfalls and achieve professional results with expert guidance. If you’re looking for a hassle-free, stunning cabinet makeover, trust our professional painting services. We specialize in residential exterior and interior painting, cabinet painting, deck & fence painting, and commercial painting. Contact us today at (239) 266-8344 to schedule a consultation and give your home the beautiful, lasting look it deserves!


